My Journey with the Diamondback Silver Streak BMX
During the COVID-19 lockdown, like everyone else, I found myself with loads of time on my hands!. That’s when I stumbled back into a previous hobby – BMX bikes and restoration – I decided to dive in headfirst. This is about the 2nd or 3rd (I’ve lost count) bike I purchased in lockdown – a Diamondback Silver Streak – a bike I had longed for in my youth but couldn’t afford.
The Hunt for the Perfect Bike
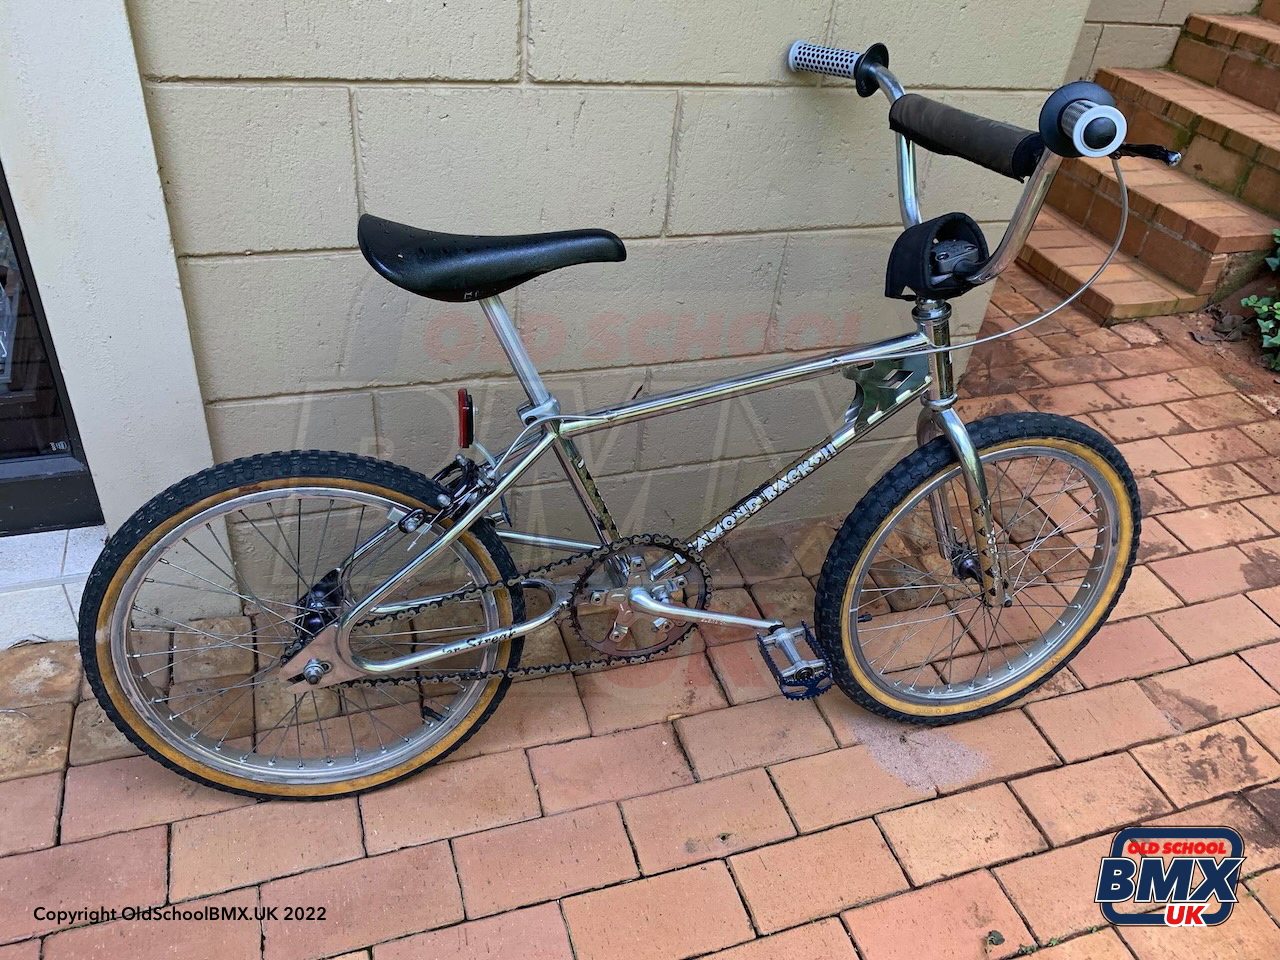
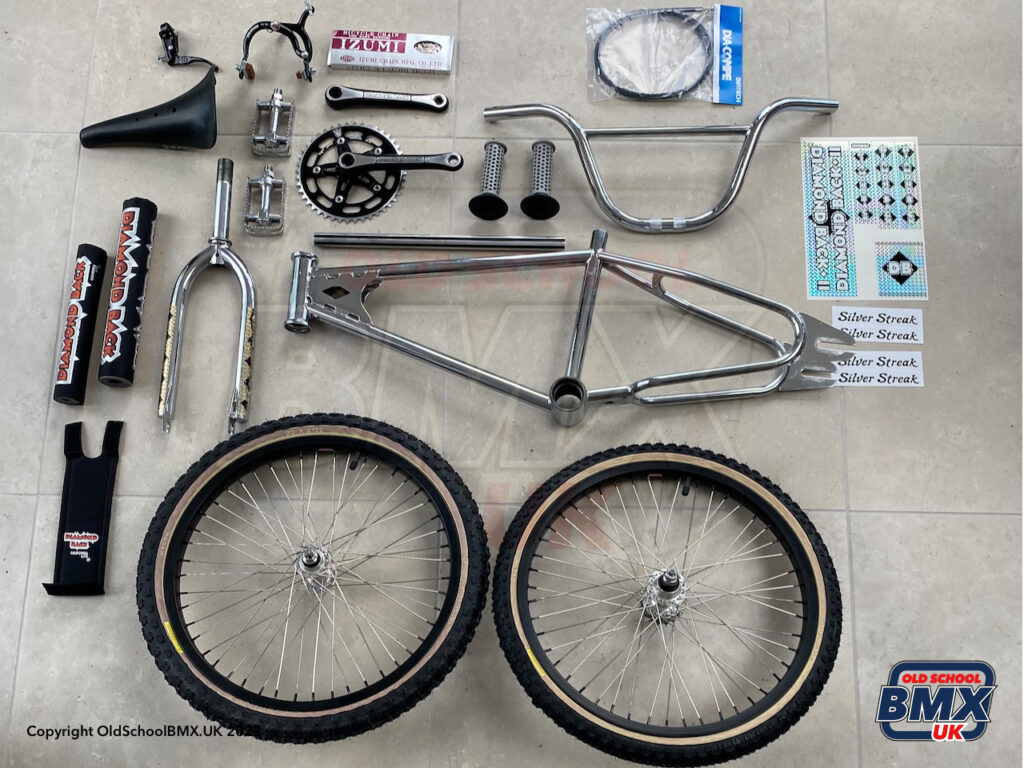
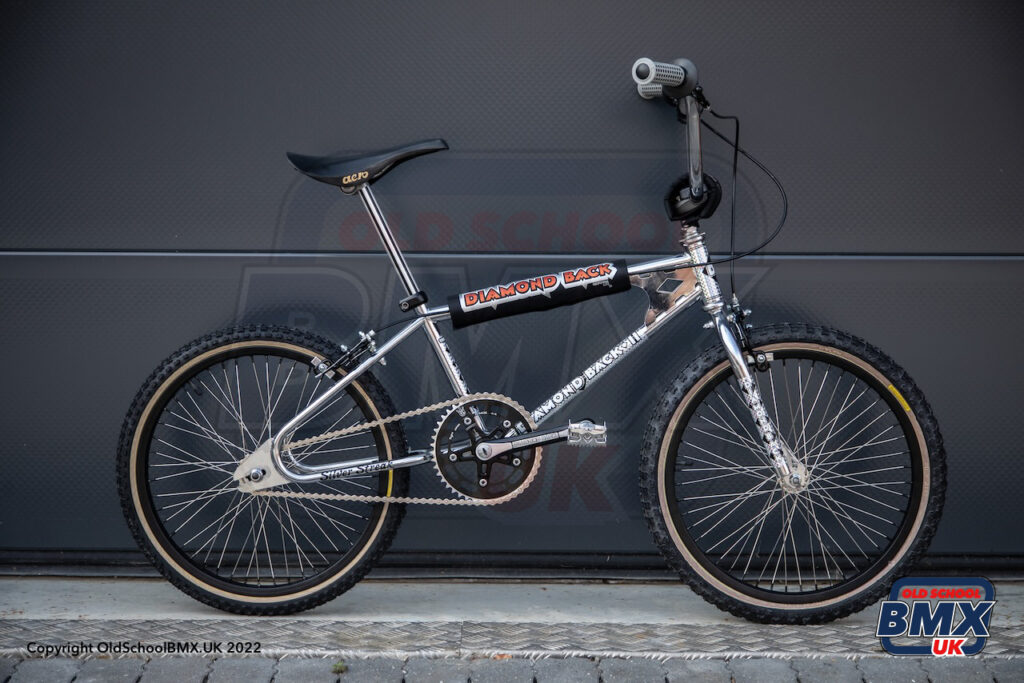
I had seen a Diamondback Silver Streak in Alan’s BMX, and it brought loads of memories flooding back, the hunt was on. After trying my luck on eBay, then some hunting on Facebook groups, I found one in…. South Africa, with most of the bits I needed.. a 1982 Koizumi made DB frame and forks, Sugino Diamond Back Stem, DB stamped bars, Fuan Aero seat and Fuan F1 grips (which are now really hard to find).
After a swift negotiation, we agreed on a price. Due to quarantine restrictions and the World being in lockdown, I had to wait a few weeks before the bike could be shipped.. plenty of time to hunt our more parts 😁

Finding the Right Parts
I knew that I wanted to build the bike with three-piece cranks, so I started searching for the right ones. After some research, I found the Diamondback three-piece Sugino cranks that were perfect for this build. I also needed to find the right wheels with large flange hubs, which proved to be a bit challenging. In a rush I ended up purchasing a set of 48-spoke Araya 7X wheels from eBay, when I needed 36s. While they weren’t exactly correct, they worked well enough for the build.

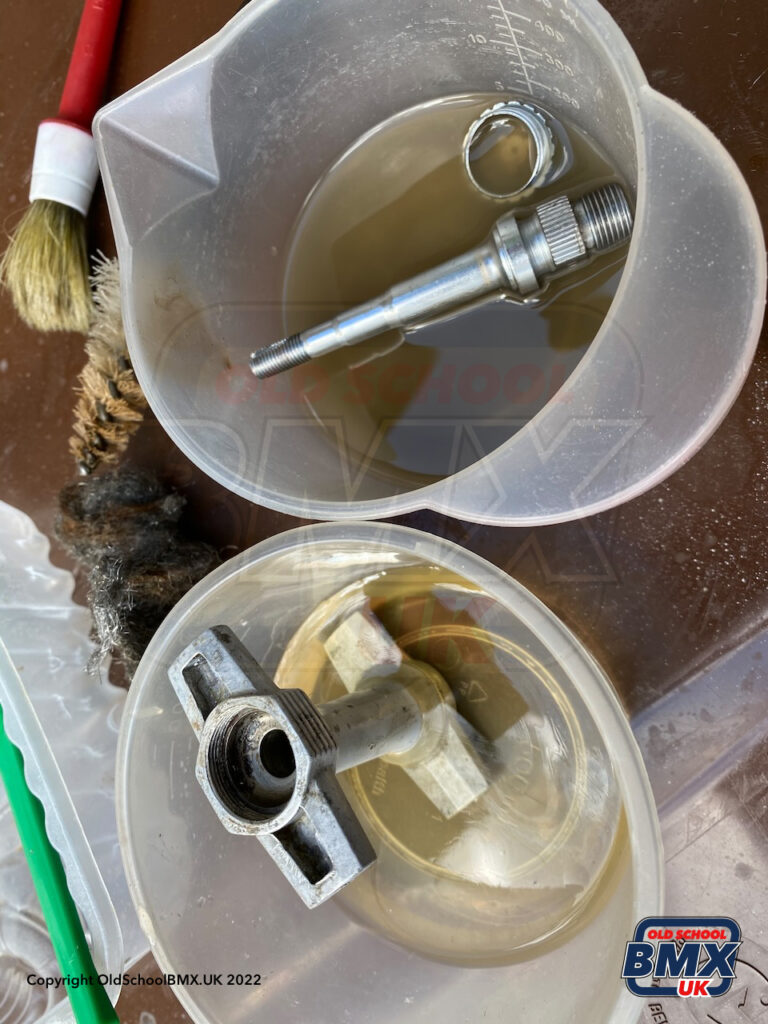
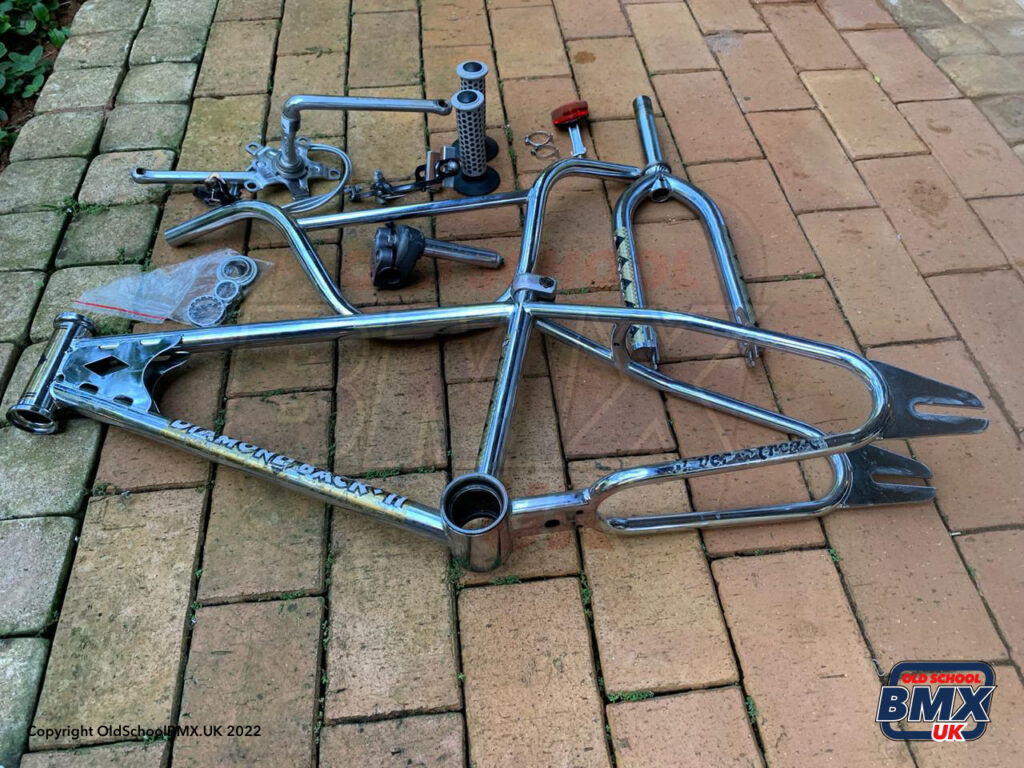
Stripping It Down
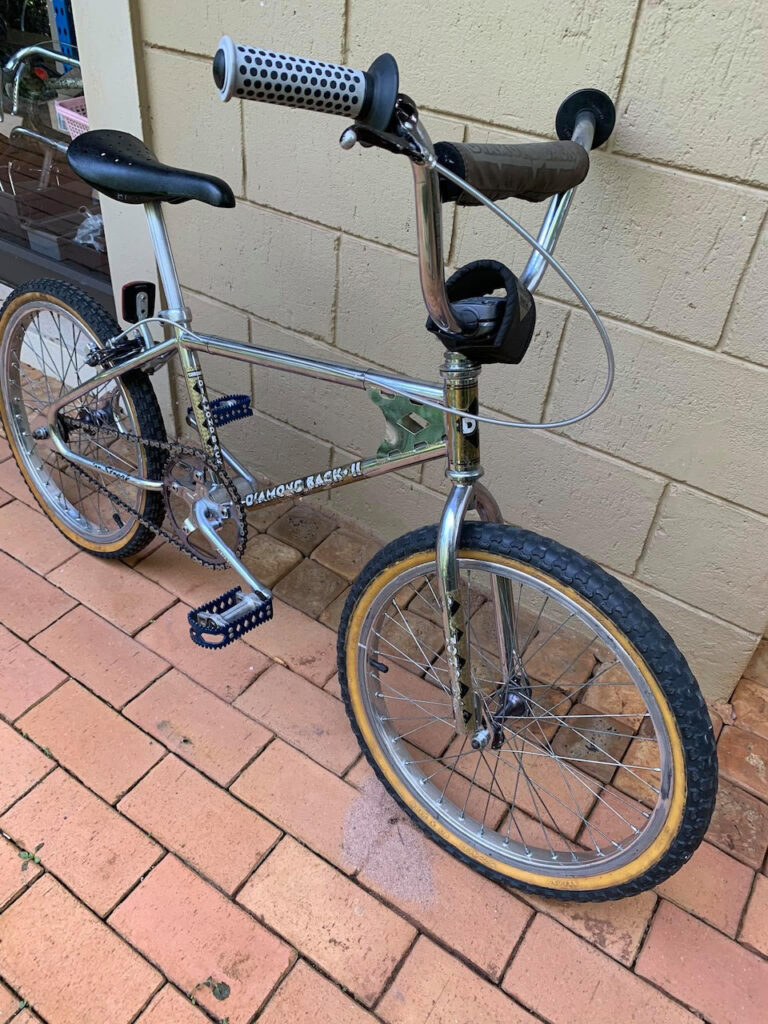
The first step in restoring any bike is to strip it down to its bare bones. I cleaned and degreased everything and started to remove the old decals. The Diamondback Silver Streak had some beautiful gold decals that had faded over time. In retrospect, I regret taking them off, but I wanted the bike to look pristine. Removing the decals was a bit tricky, but I found that using a heat gun and a sharp knife worked best.


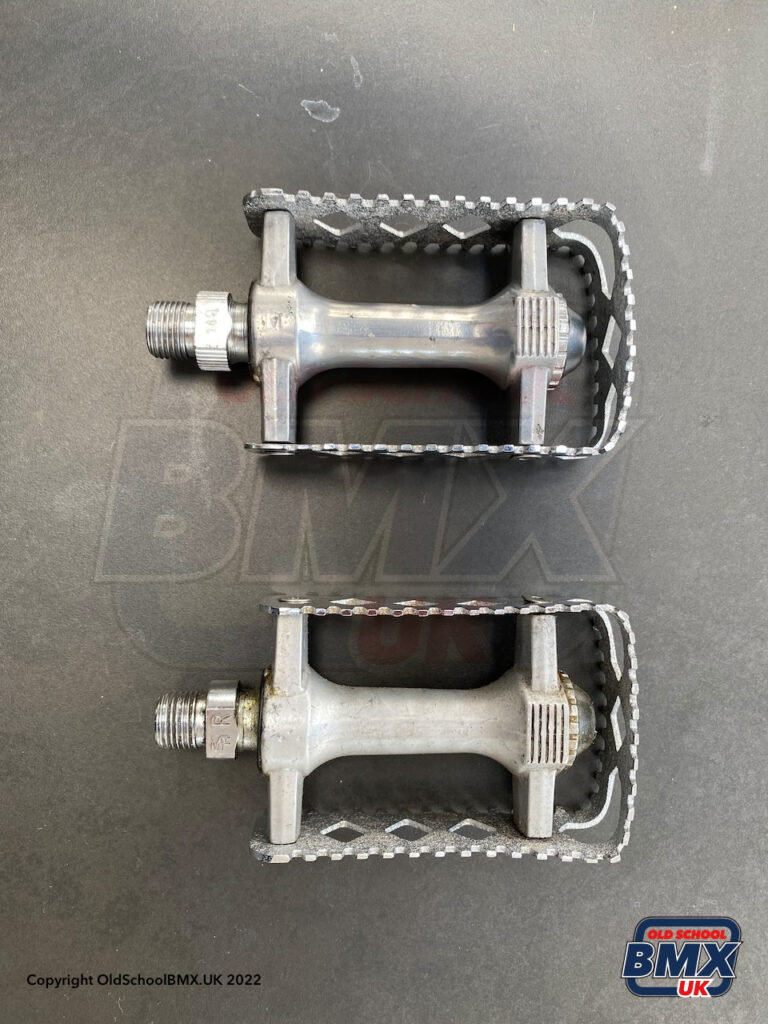
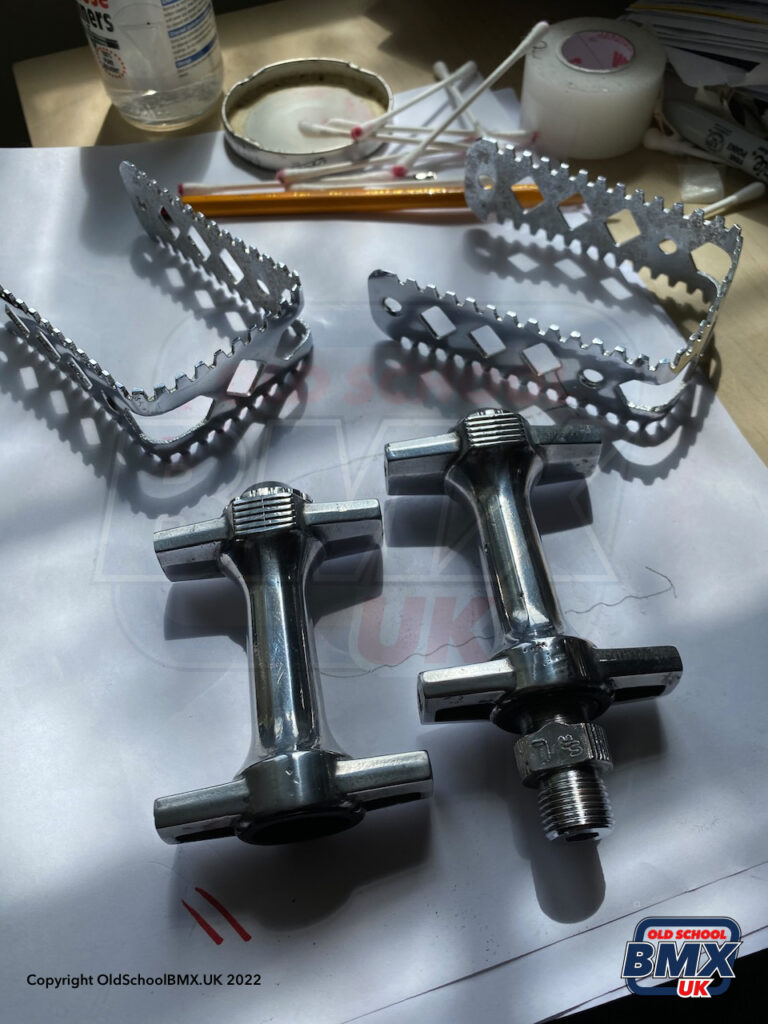
Putting It All Back Together
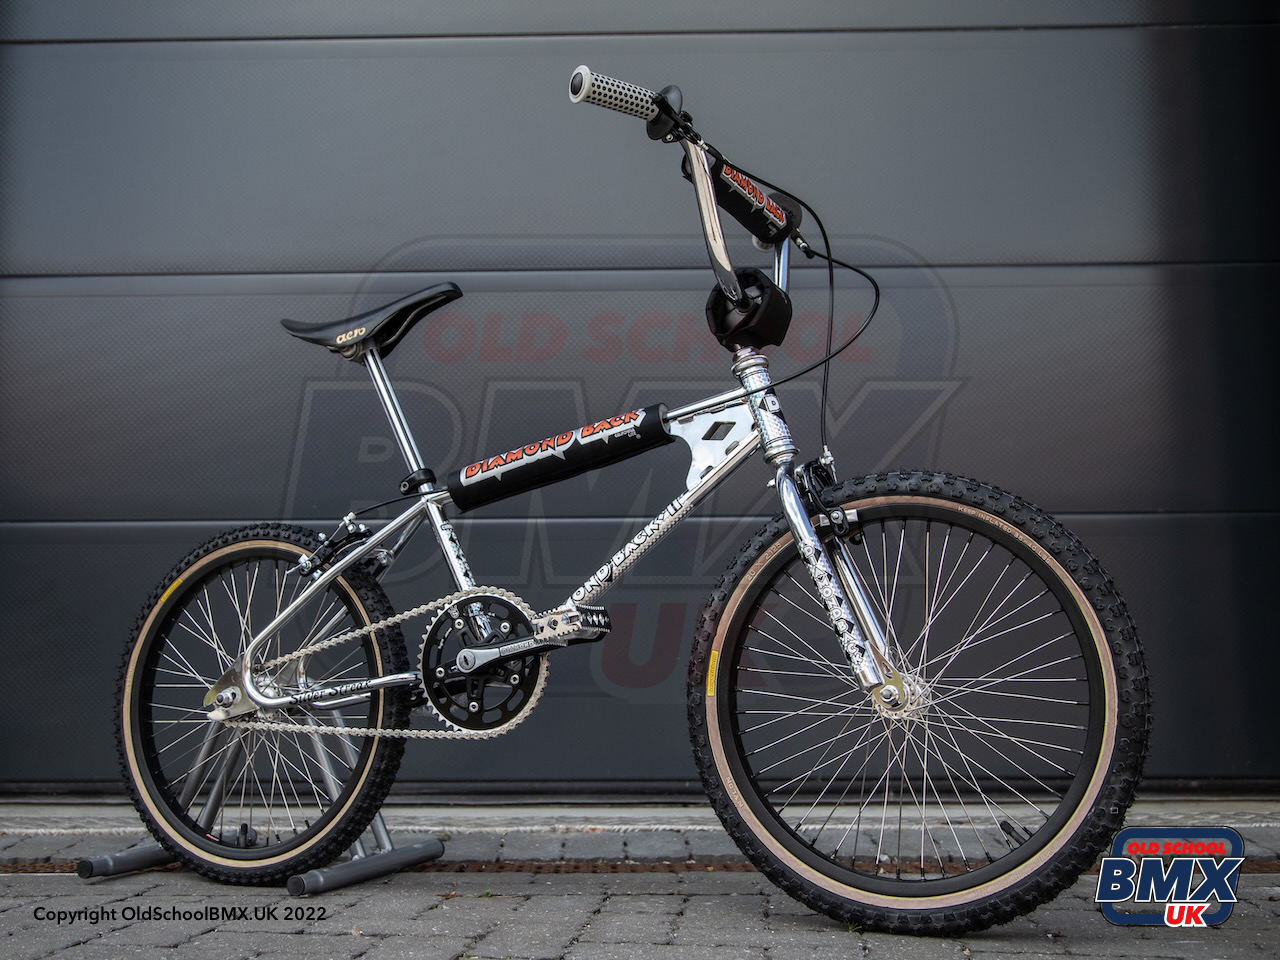
After cleaning up the frame and forks, it was time to put everything back together. I used new decals that were similar to the original ones, and I replaced the repop chainwheel with a more accurate one. I also added some NOS SR MP-134 pedals to the mix, and the bike was starting to look like new.


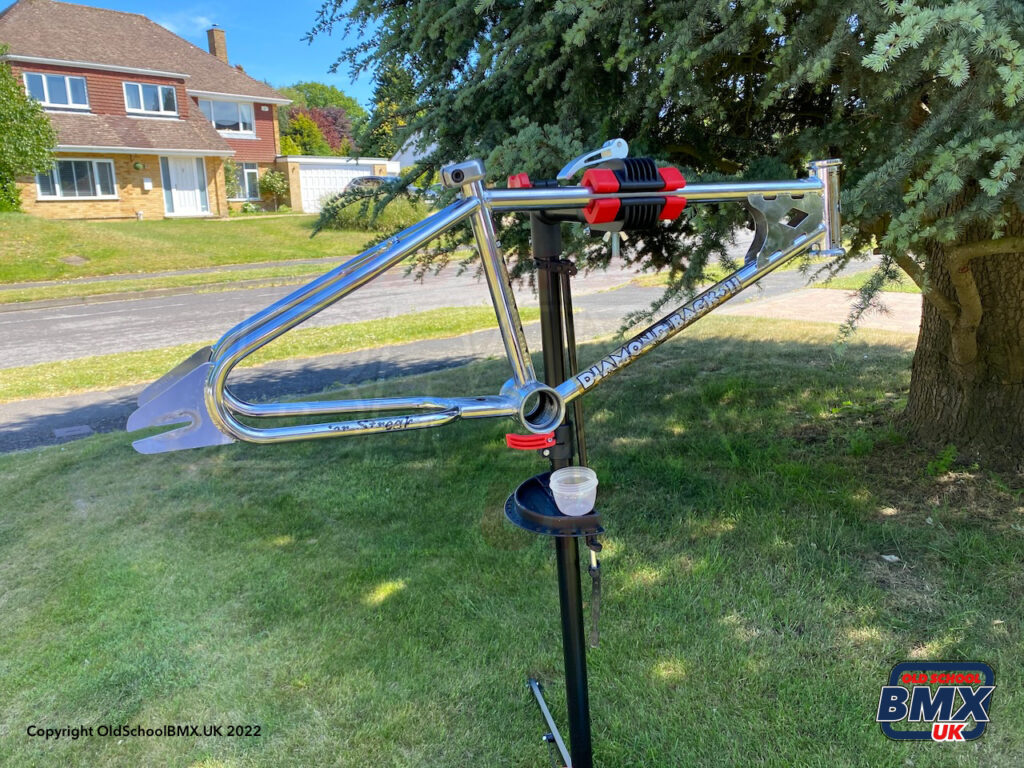
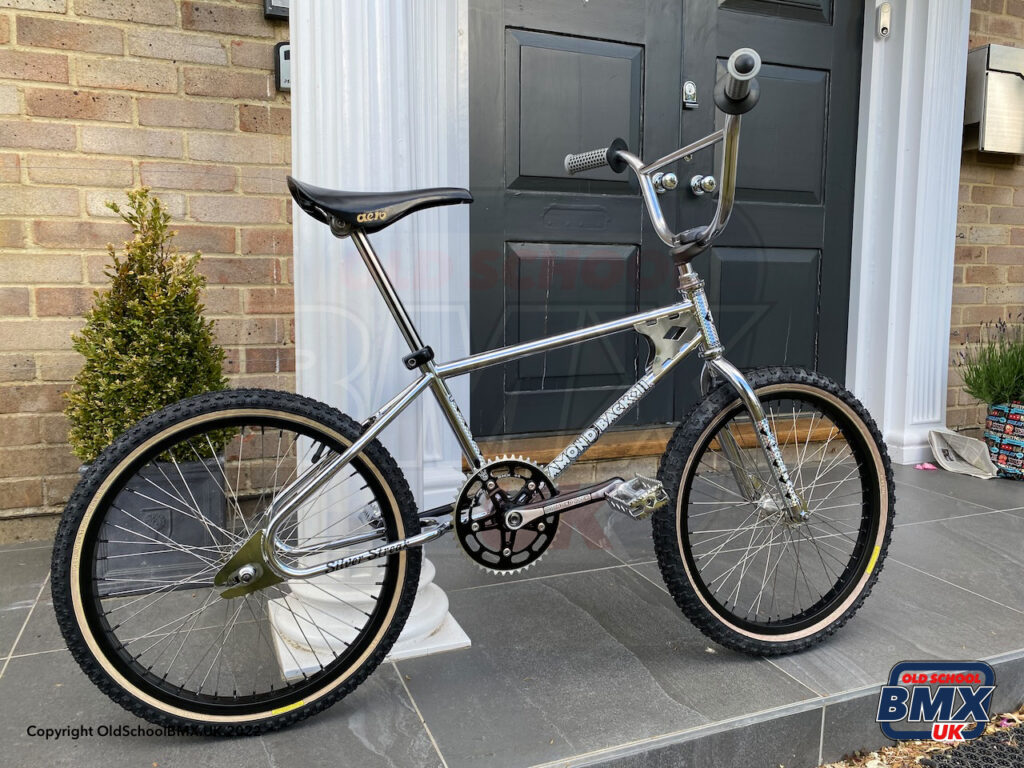
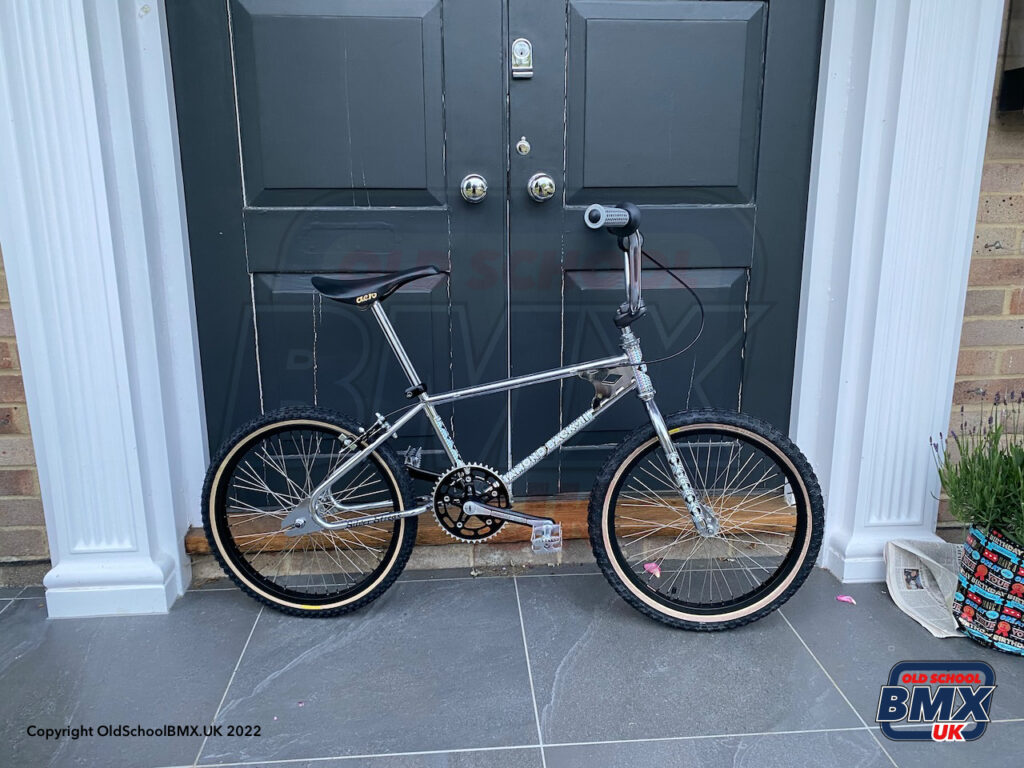
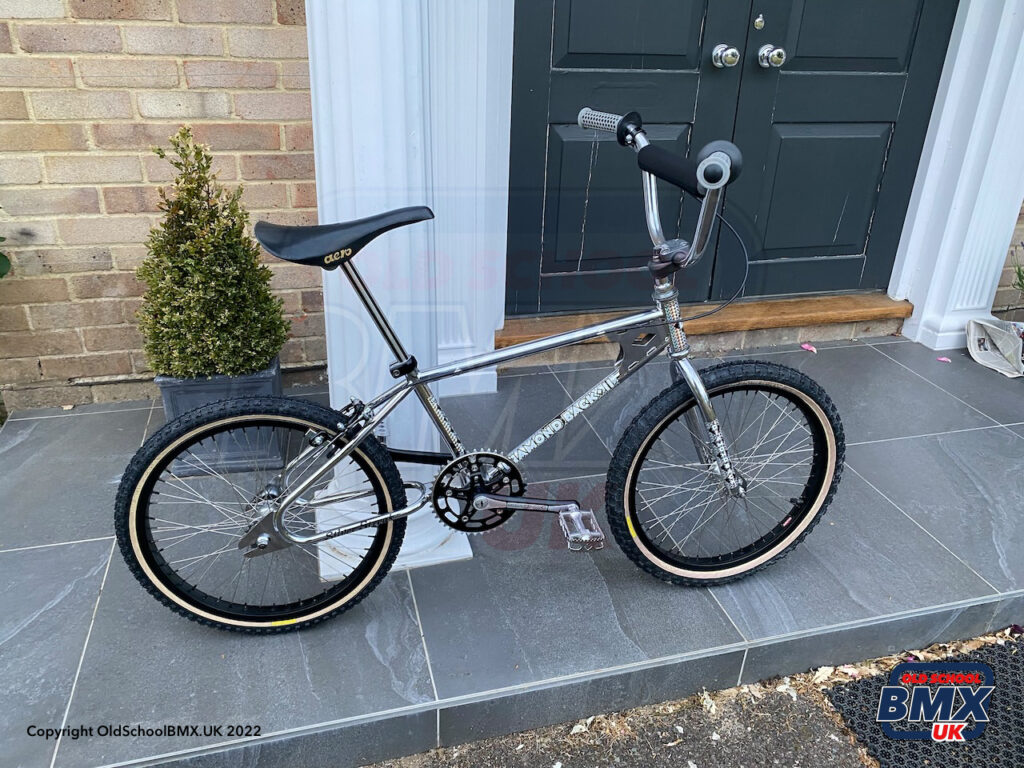
The Finished Product
I was thrilled with how the bike turned out. It wasn’t 100% correct, but it was close enough for my liking. I took some photos of the finished product in a nearby car park with a carbon fiber finish door as the backdrop. As a photographer, I enjoyed capturing all the little details that make this bike special. The slightly wrong wheels and hubs didn’t matter to me – I was just happy to have restored this classic BMX and to have found a new passion for bike restoration.
BMX Photography
I’d had a go at taking my initial photos on the porch at home, but knew that I wanted to do justice to the chrome and black parts on the bike, so scouted out locations that would provide a good backdrop, and I eventually settled on a car park with a large carbon fibre looking door.

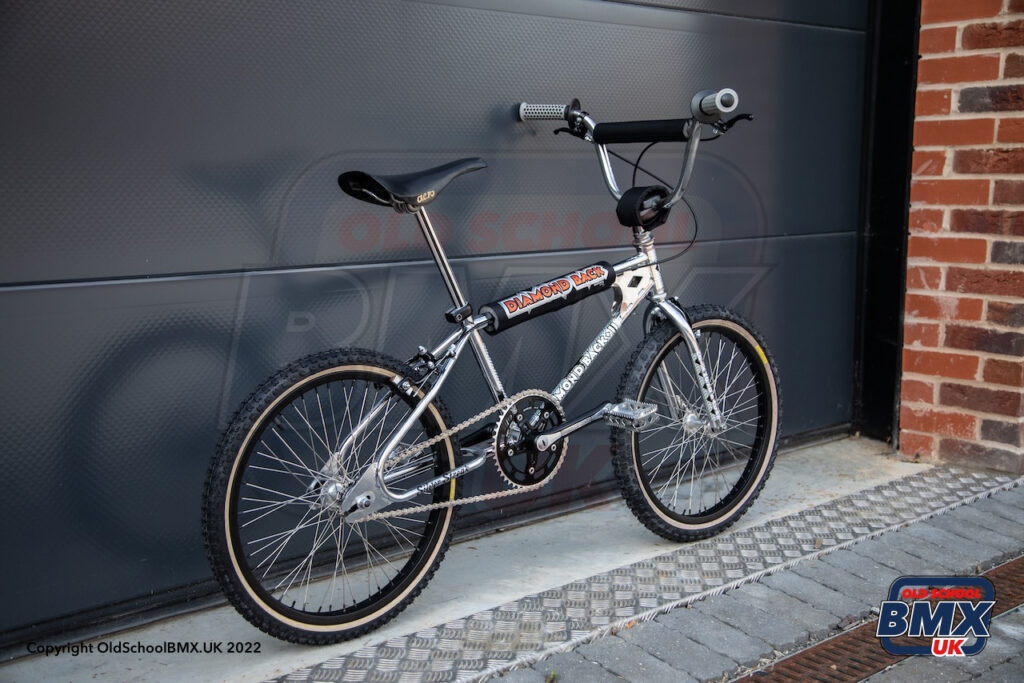
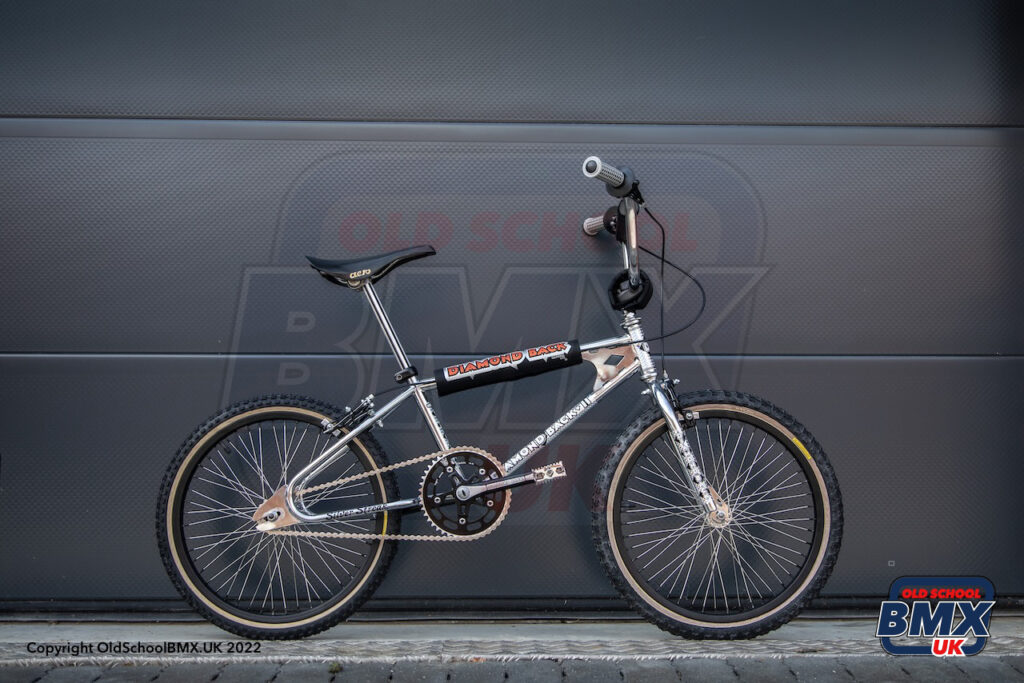
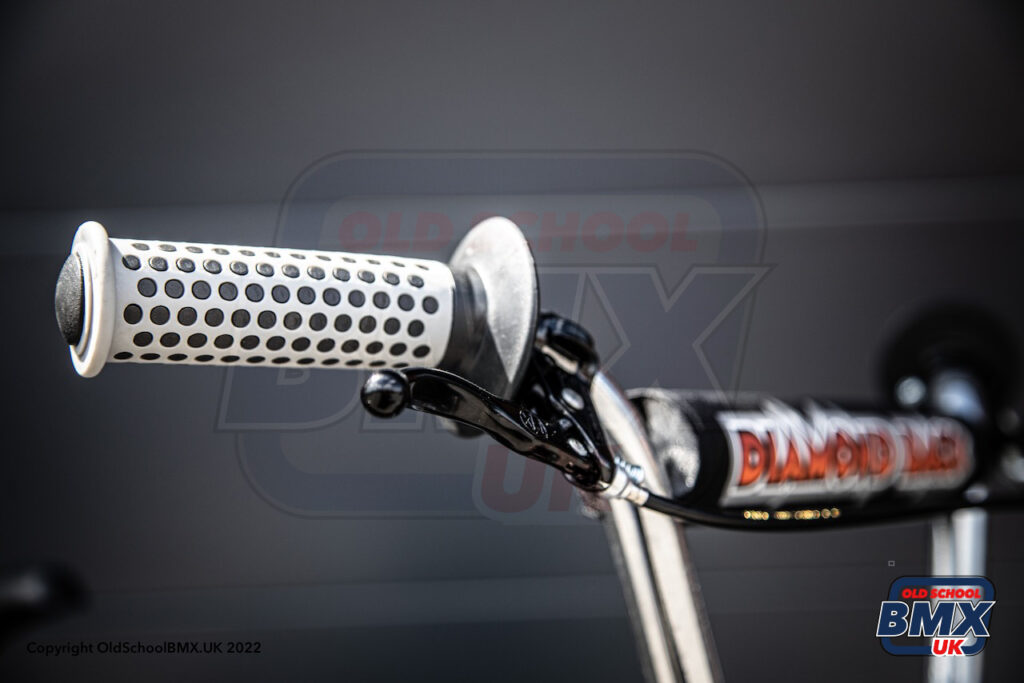
Mixing it up, took a variety of shots, including close-ups of the different parts and components, as well as wider shots of the entire bike. I made sure to pay attention to the lighting and composition, to ensure that the photos were of the highest quality possible.
Taking photos of the bike was a great way to showcase the hard work that went into the restoration process. It allowed me to document the before-and-after transformation and to show off all the intricate details that make this bike special.
If you’re interested in photographing your own bike restoration project, here are some tips that might help:
- Choose a location with a clean, uncluttered background.
- Experiment with different angles and perspectives to find the most interesting shots.
- Use natural lighting when possible, but consider using additional lighting equipment if needed.
- Pay attention to the details, and capture close-ups of the different components.
- Edit your photos to enhance the colors and clarity, if needed.
Overall, photographing the Diamondback Silver Streak was a fun and rewarding experience. It allowed me to combine my passion for photography with my love of bike restoration, and I’m happy with the results.
Tips for Restoring Your Own BMX
If you’re thinking about restoring a BMX, here are some tips that might help:
- Do Your Research: Before you start restoring a BMX, make sure you do your research. Look for original parts, decals, and other accessories that will make your bike as accurate as possible.
- Take Your Time: Restoring a bike takes time and patience. Don’t rush the process – take your time and enjoy it.
- Get Creative: Sometimes, you won’t be able to find the exact parts you need. Get creative and try to find substitutes that will work just as well.
- Take Photos: Taking photos of your progress will help you see how far you’ve come and will give you.
Follow us on our social channels for more .
YouTube coming soon, please subscribe to get the latest updates